
Key Takeaways
- Begin with one defined goal and one primary audience.
- Map the page flow before drafting full copy.
- Use familiar words, short sections, and useful headings.
- Design for scanning, reference, and real-world use.
- Choose visuals, paper, and binding to fit the booklet’s setting.
- Review accessibility, accuracy, links, and print quality before production.
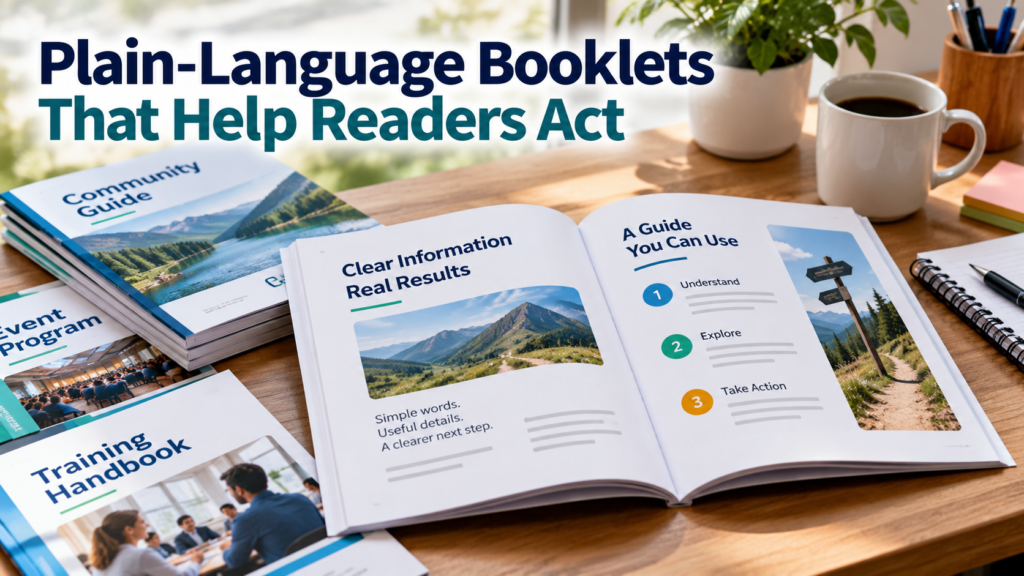
A well-made booklet gives people the information they need in an order that makes sense. Whether it is an event program, training guide, school resource, product guide, community handout, or customer reference piece, effective booklets are built around the reader’s next step, not around filling pages.
The strongest printed materials feel simple because the planning behind them is deliberate. They answer the reader’s most important questions quickly, make details easy to find later, and offer a clear action to take when the reading is done.
Why Useful Booklets Still Matter
A booklet can keep related information together in a portable format. It is useful when readers need directions during an event, instructions while completing a task, a program to refer to throughout the day, or a guide they can save for later. The goal is not to say everything about a subject. The goal is to make the right information available when the reader needs it.
-
Set One Clear Goal
Write the purpose in one sentence before choosing a cover style, image, or page count. A booklet might teach a process, explain a service, guide guests through an event, compare options, or help someone complete a form. Then identify the primary action readers should take, such as registering, contacting a team, following a process, or keeping the guide for reference.
Remove content that does not support that purpose. A focused booklet is usually more useful than one that tries to serve every possible audience and question at once.
-
Define the Intended Reader
Audience decisions affect tone, vocabulary, length, and layout. Consider what readers already know, where they will use the piece, and whether they will read it closely or skim it while standing in a busy space. Also consider whether they may need translated content, larger text, or an alternative format.
A guide for trained staff can use terms that would confuse first-time customers. An event booklet may need prominent times, locations, and maps. A workbook needs room to write. Define the use case early so the design can support it.
-
Build a Page Map Before Writing
A page map keeps important details from being forgotten and reveals crowded sections before they become a layout problem. Start with a front cover and then arrange information in the order readers will need it.
- Use a clear title and, when helpful, a brief subtitle on the front cover.
- Follow with a quick-start message, welcome, or overview.
- Add contents when the booklet has several detailed sections.
- Place instructions, examples, checklists, diagrams, or comparisons where they support the reader’s task.
- End with next steps, contact details, and useful back-cover references.
-
Write in Plain Language
Plain language helps readers understand what matters and what to do next. The plain-language checklist for public materials recommends organizing around the audience, placing the most important message first, and breaking information into logical sections.
- Choose familiar words over internal jargon.
- Keep sentences focused on one idea.
- Use active phrasing when it makes instructions clearer.
- Define necessary technical terms the first time they appear.
- Lead each section with its main point.
- Replace vague claims with examples, directions, or specific details.
-
Make the Layout Easy to Scan
Readers should be able to find a date, instruction, phone number, or answer without rereading the entire booklet. Use descriptive headings, short blocks of text, numbered steps for sequences, and bullets for grouped details. Keep margins, type styles, page numbers, and spacing consistent so the booklet feels organized from cover to cover.
White space is functional, not wasted. It separates ideas, gives important information room to stand out, and makes densely practical content less tiring to read. Place captions beside the image, chart, or diagram they explain.
-
Build Accessibility into the Design
Accessibility supports readers in many situations, including low lighting, quick scanning, limited vision, or a need for a different communication format. The ADA’s guidance on effective communication notes that appropriate communication aids can include large print and accessible electronic information, depending on the context and the person’s needs.
- Use readable body text and strong contrast between text and background.
- Avoid placing essential text over detailed photographs or patterns.
- Do not use color as the only way to communicate meaning.
- Label visuals that carry important information.
- Plan alternate versions, such as large print, translated text, or accessible digital files, when appropriate.
-
Use Images and Data with Purpose
Every visual should help readers understand, compare, remember, or act. Use a diagram to show a process, a map to guide movement, and a simple chart to clarify a comparison. Decorative imagery can support the tone, but it should not crowd out essential content. Confirm that every image is licensed or approved, and identify the source and date for any figures that may change.
-
Match Format to Use
Physical decisions should reflect how the booklet will be handled. A compact format may suit an event handout. Larger pages may better support maps, schedules, charts, or detailed diagrams. Workbooks need writing space, while frequently handled guides may benefit from a stronger cover or more durable binding. Make sure the finished piece opens comfortably and fits the place where readers will store or use it.
-
Create a Paper Mockup and Final Proof
Print a rough copy at the intended size, then fold or bind it in the planned order. Check page turns, margins, folds, image placement, and readability under ordinary room lighting. Ask someone who resembles the intended audience to complete a task using the mockup. Their questions can reveal unclear headings or missing steps.
Before the final run, verify page numbers, names, dates, prices, phone numbers, web addresses, image quality, and QR codes. Keep important text away from trim edges and folds. A final proof review away from the computer screen often catches issues that were easy to overlook during editing.
Common Problems to Avoid
- Decorating pages before defining the message.
- Adding filler just to reach a preferred page count.
- Using too many fonts, colors, or competing visual styles.
- Hiding key instructions in long paragraphs.
- Including outdated facts, unlabeled statistics, or untested links.
- Making the reader’s next step hard to locate.
When to Add Digital Support
Digital tools can extend a booklet without replacing its core value. Use one QR code for one obvious purpose, such as registration, a map, a video, or an updated schedule. Send readers to a mobile-friendly page, test the code on multiple devices, and include a short typed web address as a backup. The printed booklet should still be useful for readers who do not scan the code.
Final Reader-First Checklist
- The purpose is clear near the beginning.
- The design reflects the audience and the reading setting.
- Every page has a specific job.
- Headings, lists, and spacing make information easy to find.
- Visuals add meaning rather than distraction.
- Accessibility needs and alternate formats were considered.
- Facts, contact details, links, and print proofs were checked.
Conclusion
A strong booklet does not try to answer every question. It gives readers the information they need in a clear sequence and makes the next step simple. With a focused goal, plain language, purposeful design, and careful review, a printed booklet can become a resource people keep, share, and use again.